Demo environmentWorkspace: demoadmin.rent-radar.com
Bookings & Guest ManagementOperations and guest-experience rolesbookings-and-guestsValidated 73a3bb9

Manage bookings and guest records from one operational context

Use the booking and guest views together so arrivals, check-in context, and guest details stay aligned with the active property.

Before you start

Guest communication works better when booking and guest records are already clean.

  • A property is selected.
  • The booking or guest belongs to the active property.

When to use this article

  • You need to review a stay, arrival, departure, or guest profile.
  • A booking requires follow-up, inspection, or guest communication.
  • You are validating who is arriving before sending check-in content.

Applies to

  • Bookings
  • Calendar
  • Guests

Roles

  • Admin
  • Manager
  • Editor

Review the booking context first

  1. 1

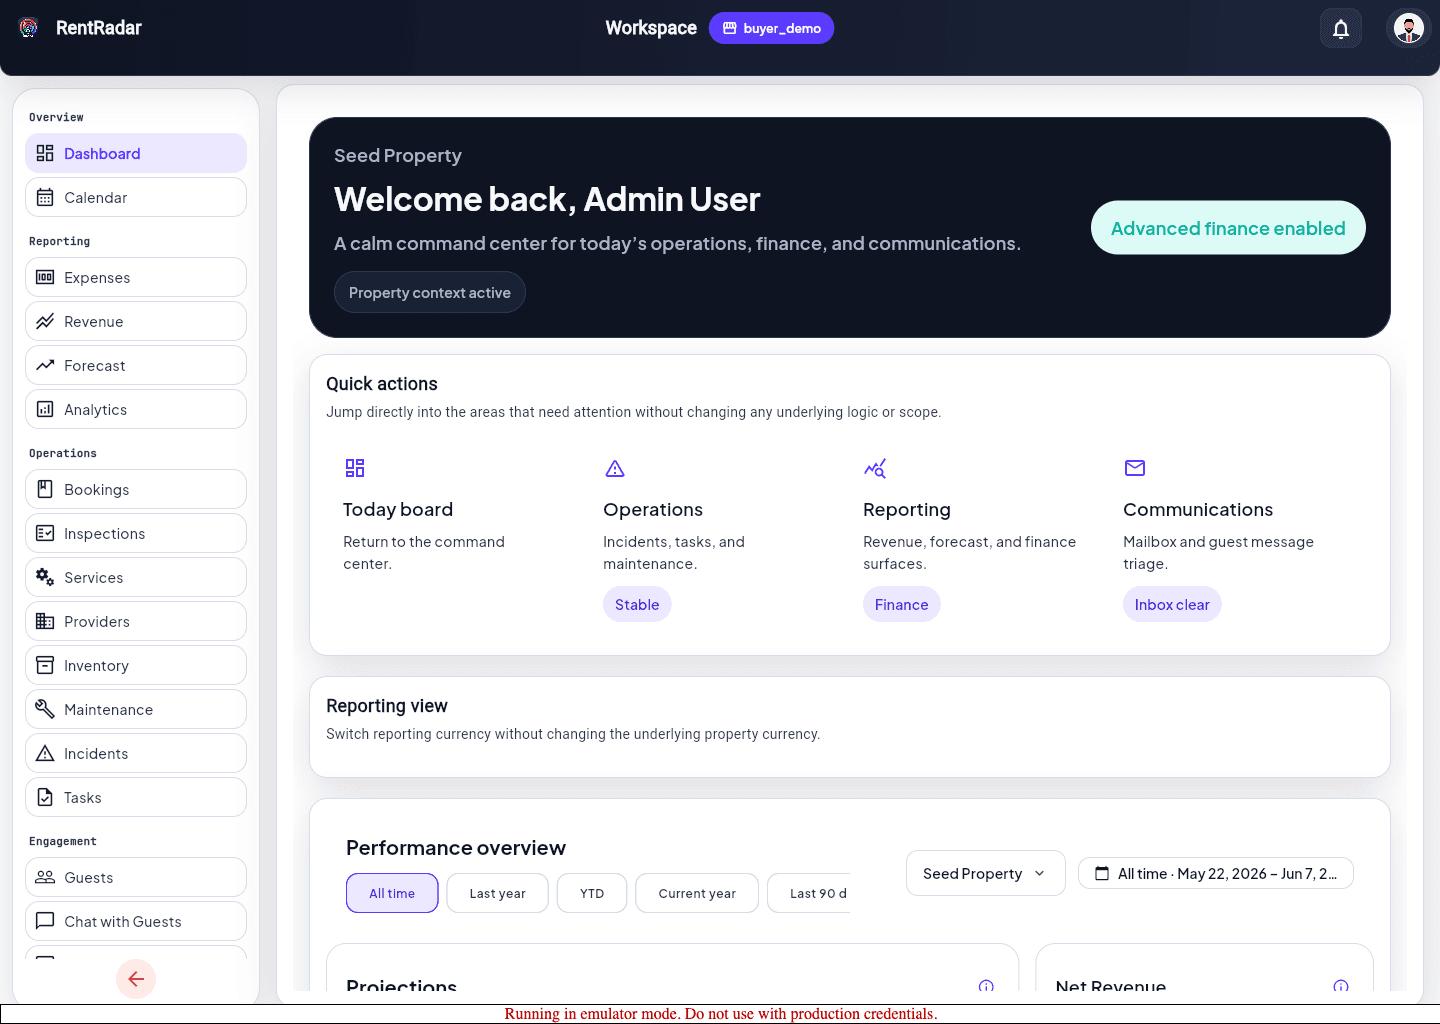
    Open the booking list or calendar from dashboard context.

  2. 2

    Choose the reservation that needs review.

  3. 3

    Confirm stay dates, guest identity, and operational notes for the active property.

  4. 4

    Open the guest workflow only after the booking context is confirmed.

Keep guest records useful

  • Update guest details in the property-scoped workflow instead of burying corrections in chat.
  • Use follow-up actions like inspections, check-in communication, or host email from the booking context when available.
  • Treat clean guest records as part of operations quality, not just guest service.

Expected result

  • Booking status and guest information stay aligned in the same property context.
  • The next guest-facing action is clear before you send communication.

Troubleshooting

  • If booking details look incomplete, confirm you are in the right property before editing records.
  • If guest data is missing for only one reservation, treat it as a record issue rather than a global scope problem.
  • Use mailbox or chat for conversation flow, not as a substitute for keeping booking data current.

Guided screenshots

Reference views for this workflow.

dashboard entry
Step 1: dashboard entry
dashboard overview
Step 2: dashboard overview